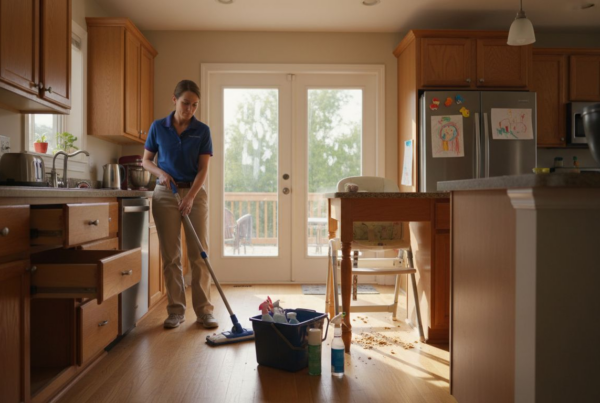
Busy days in Vancouver often leave little time for keeping your home truly clean. For many homeowners, regular scrubbing only addresses the surface while hidden allergens and germs persist. Maintaining a healthy living environment means understanding how to deep clean safely and efficiently. You’ll discover actionable tips for choosing eco-friendly cleaning products, organizing spaces, and tackling high-touch surfaces with minimal chemical exposure—all designed for quick results that fit your hectic life.
Table of Contents
- Step 1: Gather Essential Supplies And Eco-Friendly Products
- Step 2: Declutter And Organize All Living Spaces
- Step 3: Scrub And Sanitize High-Touch Surfaces Thoroughly
- Step 4: Detail Floors, Appliances, And Overlooked Areas
- Step 5: Inspect Work And Freshen Air For Lasting Cleanliness
Quick Summary
| Key Point | Explanation |
|---|---|
| 1. Stock up on eco-friendly supplies | Gather microfibre cloths, a vacuum, and eco-friendly products to ensure effective and safe cleaning. |
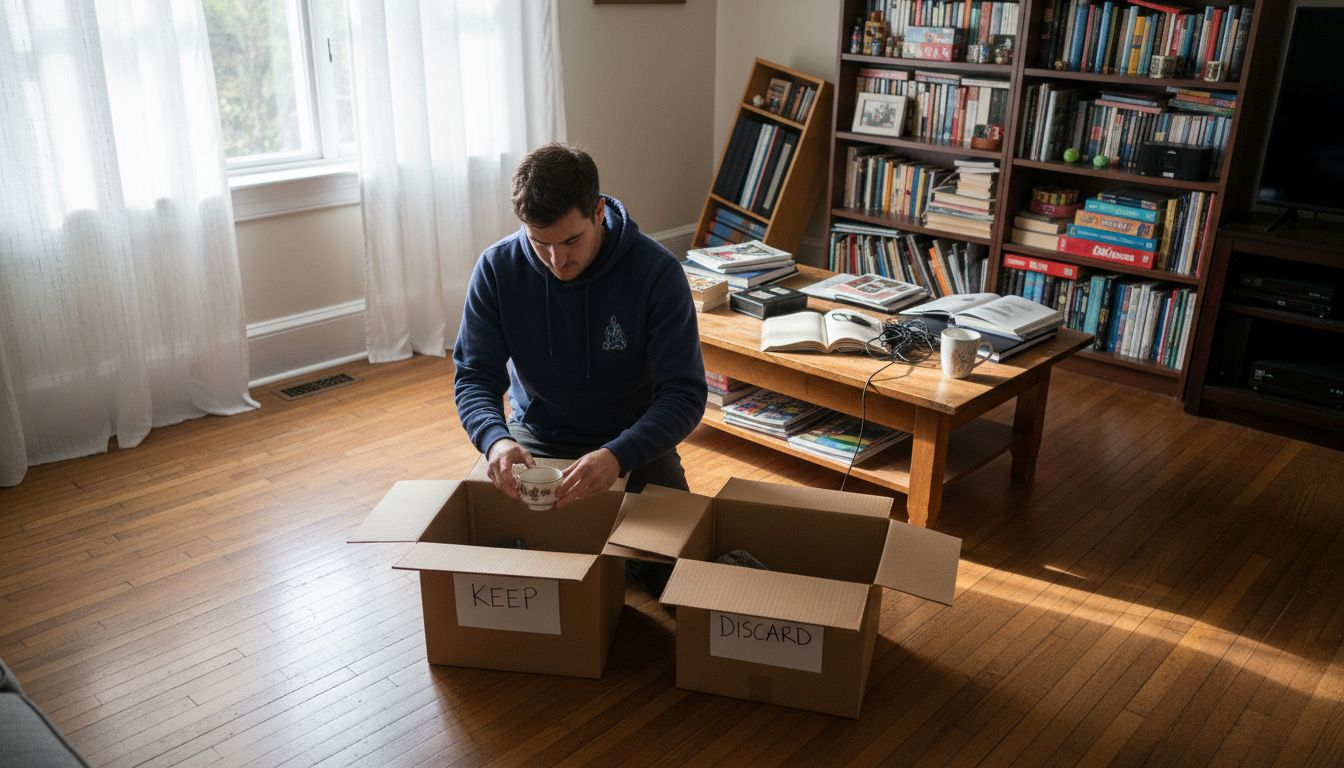
| 2. Declutter in manageable steps | Use a three-box system to sort items into keep, donate/sell, or discard categories for efficient decluttering. |
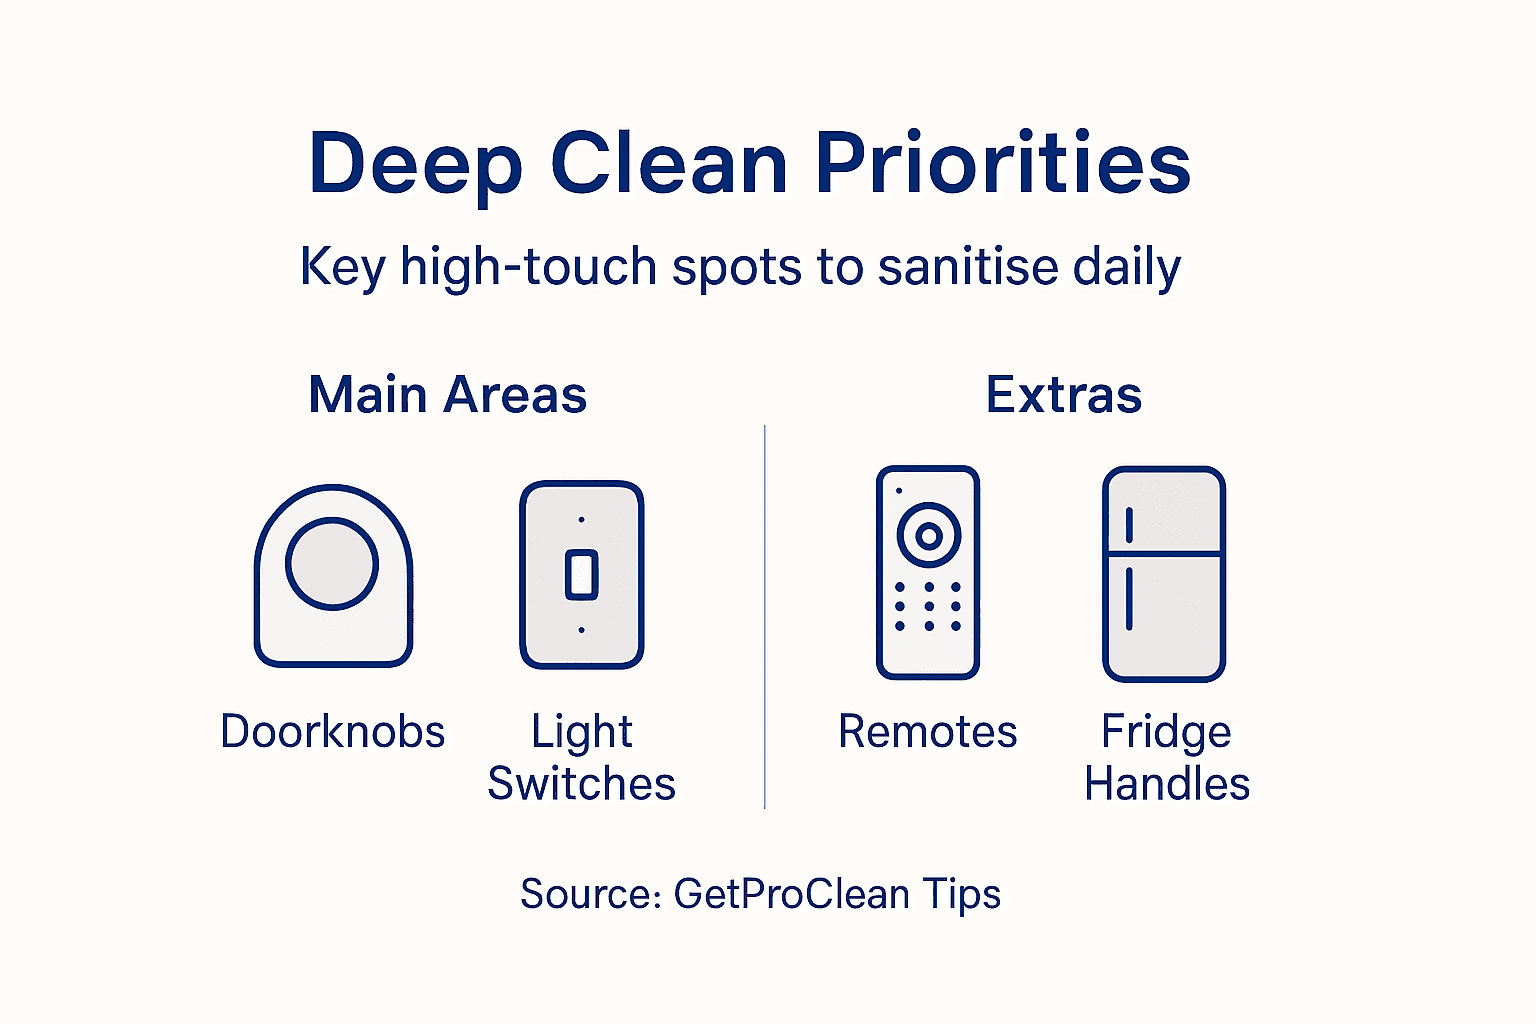
| 3. Prioritize high-touch surfaces for cleaning | Regularly clean and disinfect high-touch areas like doorknobs and countertops to reduce germs and illness. |
| 4. Detail often-overlooked areas | Focus on cleaning floors, appliances, and corners to achieve a truly fresh and healthy home environment. |
| 5. Ensure proper ventilation after cleaning | Open windows to improve air quality and remove chemical residues, maintaining a fresher indoor atmosphere. |
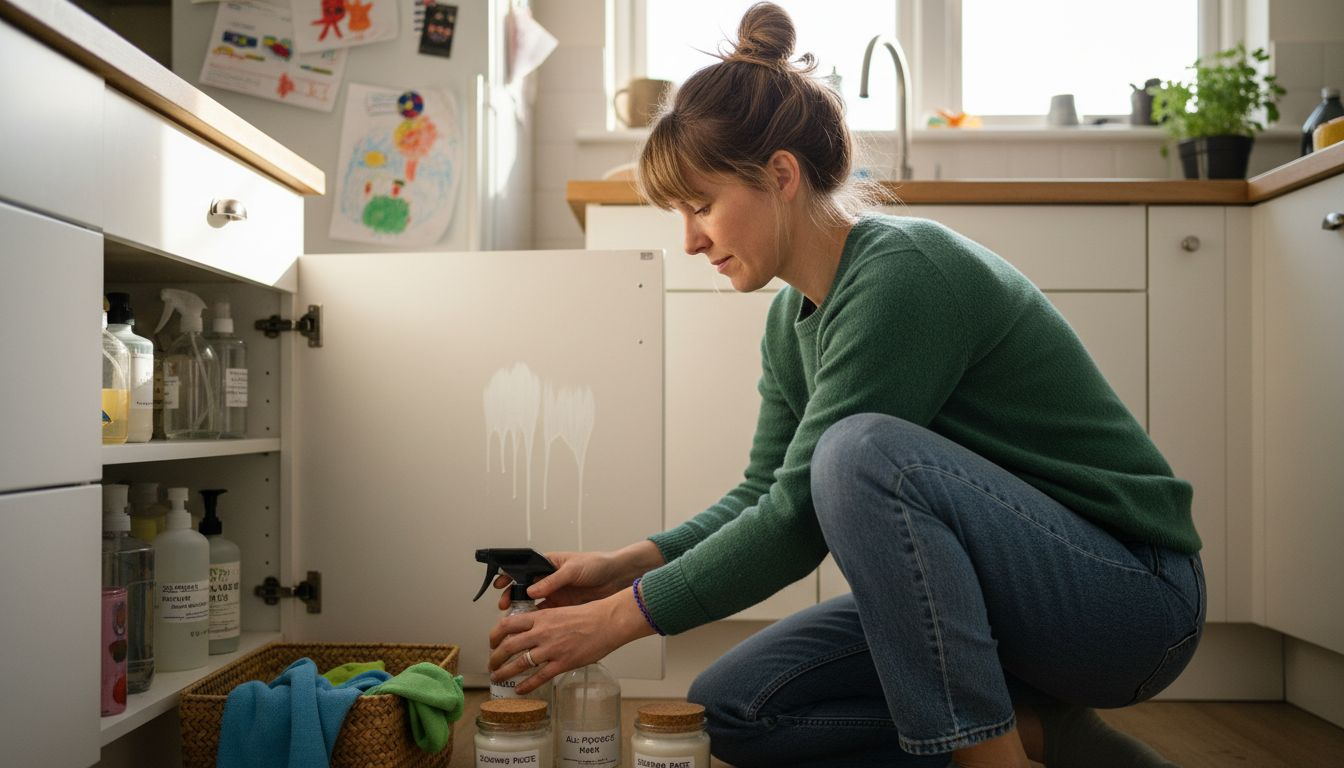
Step 1: Gather essential supplies and eco-friendly products
Before you start deep cleaning, assemble the right tools and products. This step sets you up for success and makes the actual cleaning faster and more thorough.
You’ll need basic supplies that work for most surfaces around your home. Grab a few microfibre cloths, a sturdy vacuum with good suction, a mop and bucket, sponges, and old toothbrushes for tight spaces. These items are affordable and last through many cleaning sessions.
Now comes the important part: choosing what products to use. Many conventional cleaners contain harsh chemicals that leave residue in your air and on surfaces where your family spends time. The good news is that safer cleaning products exist and work just as well as traditional options.
You have two solid approaches:
- Commercial eco-friendly cleaners: Look for products certified by environmental programs or carrying green labels. These are formulated to clean effectively while reducing exposure to harmful chemicals.
- Homemade alternatives: Common household items like baking soda, vinegar, and lemon juice make excellent cleaners. These cost pennies and eliminate uncertainty about what you’re bringing into your home.
Household alternatives to toxic products are inexpensive, safer for your family and pets, and reduce environmental pollution from your home.
Stock your cleaning kit with microfibre cloths, baking soda, white vinegar, and a quality all-purpose cleaner—these four items handle nearly every surface in your home.
If you prefer ready-made products, read labels carefully and avoid anything containing ammonia or bleach. Mixing these chemicals creates toxic fumes that pose serious health risks.
Here’s how eco-friendly cleaners compare to traditional options:
| Attribute | Eco-Friendly Cleaners | Traditional Cleaners |
|---|---|---|
| Chemical exposure | Minimal, plant-based | High, synthetic compounds |
| Residue left on surfaces | Low | Often noticeable |
| Impact on indoor air | Improves air quality | Can degrade air quality |
| Safe for pets and kids | Generally safer | Caution required |
| Environmental effect | Biodegradable, less pollution | Contributes to water contamination |
| Cost over time | Economical if homemade | Moderate to high, brand-dependent |
Pro tip: _Buy your supplies in bulk and store them in a designated cabinet or under-sink organiser. You’ll save money, avoid last-minute runs to the store, and always be ready when cleaning motivation strikes.
Step 2: Declutter and organize all living spaces
Decluttering is the foundation of a truly clean home. Before you begin scrubbing, you need to remove excess items that take up space and collect dust, making deep cleaning far more difficult.
Start by envisioning what you want your space to feel like. Do you want an open, airy bedroom? A functional kitchen where you can actually cook? A living room where guests feel comfortable? Having a clear picture of your goal helps you make decisions about what stays and what goes.
Break the work into manageable chunks rather than trying to tackle your entire home at once. Pick one room or even one closet to start, then move to the next area once you’ve finished. This prevents overwhelm and builds momentum.
Use a three-box system as you sort through your belongings:
- Keep: Items you use regularly and genuinely want in your space
- Donate or sell: Usable items in good condition that others could enjoy
- Discard: Broken items, expired products, or things beyond repair
Segmenting decluttering tasks into manageable time segments makes the process feel less overwhelming and keeps you motivated. Work in 30 or 60-minute blocks rather than marathon sessions that leave you exhausted.
Focus first on high-traffic areas like your bedroom, kitchen, and bathroom. These spaces collect clutter fastest and affect your daily routine most directly. Once you see progress in these visible areas, you’ll feel motivated to continue.
Avoid perfectionism during decluttering. Your goal is a functional, clean home, not a magazine-worthy display. Done is better than perfect, and progress matters more than perfection.
After sorting, plan for responsible disposal or donation. Many items can go to local charities, thrift stores, or recycling centres across Vancouver and the surrounding areas. This ensures your decluttering actually reduces waste rather than just moving the problem elsewhere.
Use this reference table for responsible decluttering outcomes:
| Disposal Method | Best Items to Choose | Community Benefit |
|---|---|---|
| Donation | Clean clothing, toys, usable household goods | Supports local charities |
| Recycling | Paper, plastics, electronics | Reduces landfill waste |
| Selling | High-value items, working appliances | Gives others affordable options |
| Trash | Broken, unsafe, expired products | Keeps home safe and tidy |
Pro tip: Set a timer for 45 minutes and declutter just one area each day. This consistent, bite-sized approach builds lasting organisation habits without the burnout that comes from weekend-long purging marathons.
Step 3: Scrub and sanitise high-touch surfaces thoroughly
High-touch surfaces harbour germs and bacteria that spread illness throughout your home. Doorknobs, light switches, faucet handles, and countertops are touched dozens of times daily, making them prime targets for deep cleaning.
Start by identifying all the surfaces your family touches regularly. Beyond the obvious doorknobs and switches, think about TV remotes, phone chargers, stair railings, and cabinet handles. In bathrooms, faucet handles and toilet flushing mechanisms deserve special attention.
Begin with a thorough clean using soap and warm water. This removes visible dirt and debris that prevents disinfectants from working effectively. Use a cloth or sponge and scrub all surfaces, getting into crevices around doorknobs and handles.
Once surfaces are clean and dry, apply your disinfectant. EPA-registered disinfectants are most effective at killing germs when used correctly. Check the product label for the required contact time, which is how long the surface must stay wet with the disinfectant.
Key high-touch areas to prioritise include:
- Light switches in every room
- Door handles and knobs throughout your home
- Bathroom faucet handles and countertops
- Kitchen countertops and cabinet pulls
- Stair railings and furniture arms
- Remote controls and phones
Cleaning high-touch surfaces regularly with soap and water removes germs and helps prevent illness, especially during cold and flu season. Never skip the initial cleaning step, as dirt blocks disinfectants from reaching germs.
Always follow product label directions exactly. Contact time, proper dilution, and appropriate personal protective equipment are critical for safe and effective disinfecting.
Avoid mixing different cleaning products, particularly bleach and ammonia, which create toxic fumes. Work systematically through your home, room by room, so you do not miss any surfaces.
Pro tip: Keep disinfectant wipes in high-traffic areas like your kitchen and bathroom for quick daily touch-ups between deep cleans, maintaining hygiene throughout the week without extra effort.
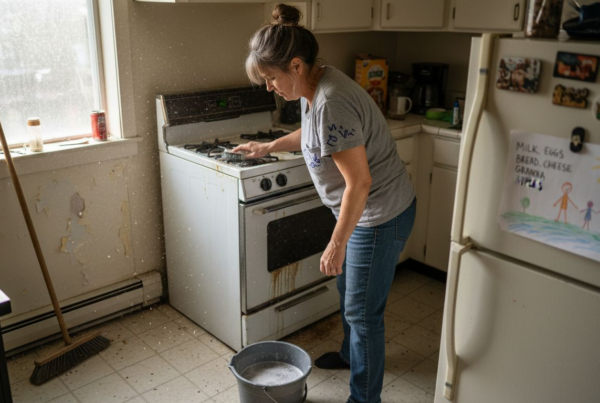
Step 4: Detail floors, appliances, and overlooked areas
These surfaces collect dust, grime, and bacteria but are often skipped during regular cleaning. Detailing them thoroughly transforms your home from merely clean to genuinely fresh and healthy.
Start with your floors. Vacuum or sweep first to remove loose debris, then mop using an appropriate cleaner for your floor type. Hardwood floors require different care than tile or laminate, so choose products designed for your specific surface.
Do not forget corners, baseboards, and under furniture where dust accumulates. Use a cloth or old toothbrush to reach tight spaces along walls and cabinet edges. This prevents particles from settling back onto clean surfaces.
Your appliances deserve detailed attention. The refrigerator should be cleaned inside and out, including shelves and door seals where spills accumulate. Thorough appliance cleaning prevents contamination and odours while extending the life of your equipment.
Priority appliance areas include:
- Oven interior and exterior, including handles and vents
- Refrigerator shelves, drawers, and seals
- Microwave interior and turntable
- Stovetop and burner grates
- Dishwasher filter and interior walls
- Coffee maker and kettle interior
Oftentimes overlooked areas harbour the most dust and grime. Light fixtures, ceiling corners, door frames, and inside kitchen cabinets accumulate debris you cannot always see. Wipe these surfaces with a damp cloth to remove dust buildup.
Your refrigerator and oven filters need regular replacement or thorough cleaning to maintain appliance efficiency and prevent odours from spreading throughout your home.
Window sills, baseboards, and the tops of door frames are notorious dust collectors. Use a vacuum with a brush attachment or a cloth to clean these high surfaces. In bathrooms, do not forget ventilation fan covers and the inside of cabinet doors.
Pro tip: Schedule detailed cleaning of appliances and overlooked areas on a rotating basis each month rather than attempting everything at once, ensuring nothing gets neglected while keeping the workload manageable.
Step 5: Inspect work and freshen air for lasting cleanliness
You are almost done. Now take time to inspect your work and ensure your home feels fresh and clean throughout. This final step locks in your deep clean and creates a healthy environment.
Walk through each room systematically. Check surfaces you cleaned for streaks, missed spots, or residue from cleaning products. Wipe down any marks on mirrors, windows, or glass surfaces with a dry microfibre cloth. Look under furniture and in corners to confirm dust is gone.
Pay special attention to baseboards, door frames, and light switches where you may have missed areas. Run your hand along surfaces to feel for dust or stickiness that indicates incomplete cleaning. This tactile inspection catches what your eyes might miss.
Once your inspection is complete, focus on air quality. Proper ventilation during and after cleaning removes chemical residues and airborne particles from your home. Open windows and doors to allow fresh air to circulate.
Your ventilation strategy should include:
- Opening windows on opposite sides of your home to create cross-ventilation
- Running ceiling fans or portable fans to move air throughout rooms
- Operating your HVAC system to distribute air evenly
- Leaving windows open for at least 15 to 30 minutes after cleaning
- Checking that outdoor air quality is good before opening windows
Regular HVAC filter replacement and maintenance supports lasting freshness by preventing pollutant buildup in your home. Replace filters according to manufacturer recommendations, typically every 90 days or monthly if you have pets or allergies.
Fresh air circulation is not optional after deep cleaning, it is essential for removing chemical residues and ensuring your home smells genuinely clean rather than masked by artificial scents.
Consider using air purifiers with HEPA filters in bedrooms or living areas for additional air quality support, especially if anyone in your home has allergies or respiratory sensitivities.
Pro tip: Schedule your deep clean for a day when weather permits opening windows for several hours, allowing maximum air exchange without relying solely on fans or HVAC systems to freshen your space.
Ready to Transform Your Home with Expert Deep Cleaning?
The journey to a fresh and healthy living space begins with understanding the challenges of deep cleaning such as tackling high-touch surfaces, detailed floor care, and thorough decluttering. If maintaining your home’s cleanliness feels overwhelming despite your best efforts with eco-friendly products and careful organising, professional help can make a remarkable difference. Our team at GetProClean knows how to bring thorough cleanliness to every corner of your home without the stress or hassle.
Achieve exceptional results with trusted, fully insured experts who specialise in Deep Cleaning – Pro Clean, ensuring your space is sanitised and refreshed using safe and effective methods.

Don’t wait until dust and grime build-up affects your comfort and health. Book a session today at GetProClean and enjoy flexible scheduling across Vancouver and surrounding cities. Experience the satisfaction of a truly clean home supported by award-winning professionals. Start now by exploring our comprehensive House Cleaning – Pro Clean services or give your mattress the deep care it deserves with Deep Clean Mattress – Pro Clean. Your fresh, healthy home is just a click away.
Frequently Asked Questions
What essential supplies do I need to deep clean my home?
To deep clean your home effectively, gather essential supplies such as microfibre cloths, a sturdy vacuum, mop and bucket, sponges, and old toothbrushes. These tools are affordable and will help you clean various surfaces efficiently.
How do I choose eco-friendly cleaning products?
Select eco-friendly cleaning products that are certified by environmental programs or create homemade solutions using items like baking soda, vinegar, and lemon juice. These alternatives are not only safer for your family but also protect the environment.
What steps should I take to declutter before deep cleaning?
Start decluttering by focusing on one room or area at a time and use a three-box system: Keep, Donate or Sell, and Discard. Breaking the process into smaller tasks will help you avoid feeling overwhelmed and allow you to develop lasting organisation habits.
How can I ensure high-touch surfaces are properly cleaned and sanitised?
Clean high-touch surfaces first with soap and warm water to remove dirt. After cleaning, apply an EPA-registered disinfectant and allow it to stay wet for the recommended contact time to effectively kill germs.
What areas are often overlooked during deep cleaning?
Areas such as window sills, baseboards, and the tops of door frames are commonly overlooked during cleaning. Be sure to include these areas in your deep cleaning routine to eliminate dust and grime completely.
How can I improve air quality in my home after deep cleaning?
To enhance air quality, open windows for cross-ventilation and use fans to circulate fresh air throughout your space. Aim to ventilate your home for at least 15 to 30 minutes after cleaning to remove chemical residues and improve overall freshness.